Maze Project
Research: Maze design inspiration
|
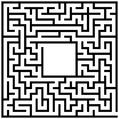
This one seemed fun and easy to design.
Well, that's what I thought. I was wrong, with the constraints I had and the scales I had to work with I struggled to design anything even slightly looking like that. |
|
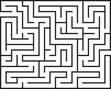
This one seemed like an even easier concept and I tried to base my design off of this.
Starting with one initial path and adding more paths in addition to it. |
|
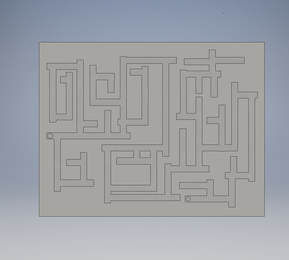
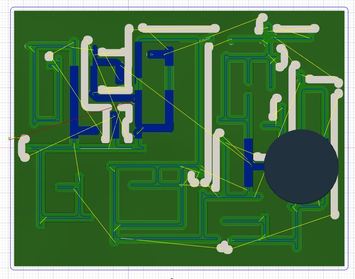
First, I designed my maze. I put the paths in and made sure they were all the same size. Leaving enough space between the paths so that the walls won't be too flimsy.
Secondly, I input the maze into Fusion 360. I contoured the bottom of all the paths to make sure the machine cut it out.
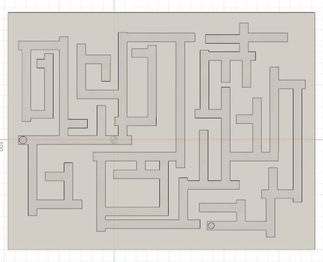
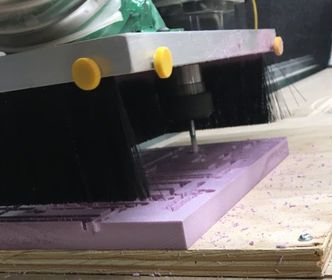
My final step on the computer was to simulate the tool path and upload the file to my flash drive. The white/gray lines are cuts that the machine has to make for some unknown, irritating reason. Finally, I set up my foam on the router so I could cut out my maze. The machine moved pretty quickly, so I was only down there for a few minutes.
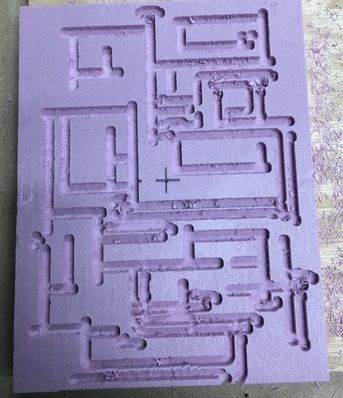
With the maze finally cut out, my last step was to use the laser to engrave my name into the foam. You can see that the machine cut out a lot of extra strips, making it nearly impossible to tell where exactly the maze starts, and the mistakes end.
|
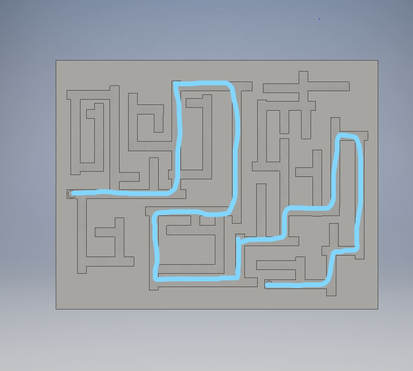
Here was the intended path, if you want a challenge; try to find the path in the cut-out version.
What I Learned
I learned that you need to be ready for all different kinds of complications with machines. I also learned how to zero the X,Y,and Z axes (yes, that is the plural of axis; I had to look it up.) I learned how to use Fusion 360 after some complications caused by my being dumb.
